Hosting: Dotster: Domain Privacy

Domain Privacy Protection and Dotster

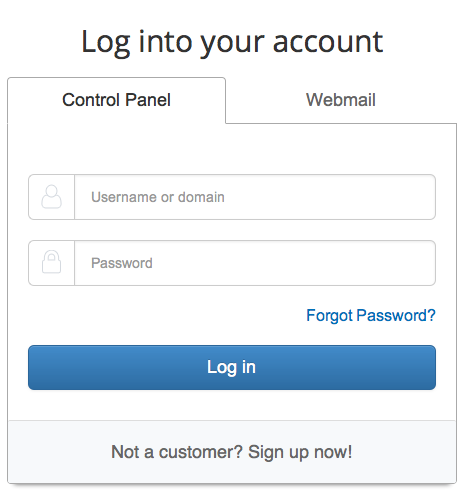
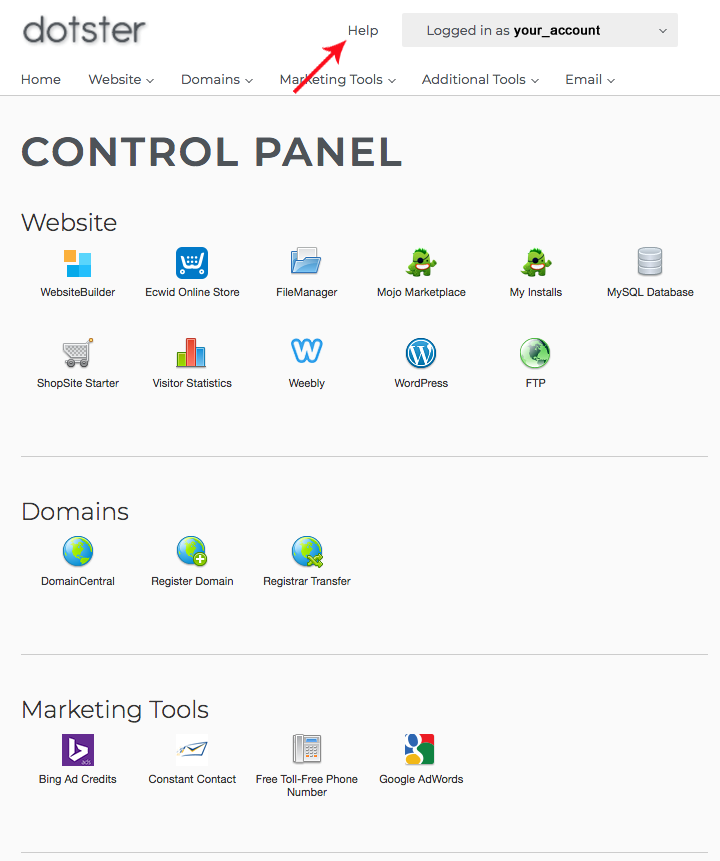
When purchasing a website, you have probably seen the word privacy protection offered.  With Dotster you can add by going to DOMAINCENTRAL, Click your domain, Click Security, and then follow the prompts to add.


Why Get Domain Privacy Protection

If you go to DomainTools and Whois.net, you can check to see who owns the domain name. You can see where it’s registered and with what company it’s registered.  These sites show your personal home address (or registered address), phone number, email address, etc.  They are an online database that anyone and everyone can view publicly.

You may be thinking this is like email and want to provide fake information like a fake address.  Not so smart, there are strict guidelines set by ICANN which could shut your website down if you choose to provide a fake address or any fake information. They can do this because it is a violation of ICANN’s TOS.  Do not give false information.

Signing up for privacy protection is usually worth the small price tag that comes with it.  Otherwise, you’re leaving yourself wide open for email spam. Many domain owners that have had to deal this problem find it goes away shortly after the domain names are made private.

Pros

  • Minimize spam.
  • Protects your personal information.
  • Prevents unsolicited marketing outreach.
  • Protection against domain name hijacking.

Cons

  • An extra yearly expense.
  • What Is Domain Privacy Protection

Domain Privacy Protection sold as a product and Dotster.com

Dotster considers Domain Privacy Protection (domain privacy) a product of its own and not part of a service added to a domain.  This means if a domain name is let go, or expires for any reason, Dotster will continue to bill customers for domain privacy. They feel that charging customers for a service not rendered is acceptable. They are committed to putting the responsibility on their customers to cancel a product (service) they are not giving.  Dotster will even turn off customers hosting plans because they did not pay for domain privacy on a domain they no longer have.

It has been called theft or ransom by some – so be aware here.


Opening for a Speech or Presentation

Speech or Presentation:

Do not waste your time on dull talks. Speech or presentation openers can be used to display confidence and engage your audience.

Good openers are what writers call a “hook.”   The hook (or grabber) is the part of a speech that compels an audience to sit up and pay attention.  It’s a way of grabbing the audience and pulling them into the content.  It should come at the beginning of a talk, where it can do the most good.  From there the fine art of communication will have to take over.

  • Make it resonate with the audience.
  • Make it surprise the audience.
  • Make it concise.
  • Make it fall into something larger than the topic.

“I’m about to share the ….. secrets no one ever told you.”
Why this works: It makes an irresistible promise that audience can’t ignore
=•=•=•=•=•=•=•=•=•=•=•=•=•=•=•=•=•=•=•=•=•=•=•=•=•=•=•=•=•=•=•=•=•=•
“Who likes ….. ?”  or  “What do you…?”
Why this works: The question begs to be answered so the audience pays attention (Question Technique/Personalisation Technique)
Example – Raise your hand if you’ve ever been asked the question “What do you want to be when you grow up?”.
=•=•=•=•=•=•=•=•=•=•=•=•=•=•=•=•=•=•=•=•=•=•=•=•=•=•=•=•=•=•=•=•=•=•
“Have you ever wondered why ….. ?”
Why this works: Empathizes with the audience, eg. Have you ever wondered why you have to spend so much time writing your TPE reports?
=•=•=•=•=•=•=•=•=•=•=•=•=•=•=•=•=•=•=•=•=•=•=•=•=•=•=•=•=•=•=•=•=•=•
“Here’s why you’re wasting your time on ….. ”
Why this works: Shocks the audience to attention with the fear they are using their time for something unnecessary
Example –Do not waste your time on dull talks. Speech or presentation openers .. (see above)
=•=•=•=•=•=•=•=•=•=•=•=•=•=•=•=•=•=•=•=•=•=•=•=•=•=•=•=•=•=•=•=•=•=•
“This is what ….. will surely look like next year. ”
Why this works: Change, or the threat of change, gets attention
=•=•=•=•=•=•=•=•=•=•=•=•=•=•=•=•=•=•=•=•=•=•=•=•=•=•=•=•=•=•=•=•=•=•
“Here’s how I make my wife/husband very, very angry: ”
Why this works: The promise of an interesting story is irresistible
=•=•=•=•=•=•=•=•=•=•=•=•=•=•=•=•=•=•=•=•=•=•=•=•=•=•=•=•=•=•=•=•=•=•
“My massive business/meeting/presentation/social/….. mistake was ….. ”
Why this works: Engagement through the implicit promise of success by avoiding failure
=•=•=•=•=•=•=•=•=•=•=•=•=•=•=•=•=•=•=•=•=•=•=•=•=•=•=•=•=•=•=•=•=•=•
“These are the 3 warning signs you need to ….. ”
Why this works: Am I okay? Do I have any of the warning signs? I must listen! I must pay attention!
=•=•=•=•=•=•=•=•=•=•=•=•=•=•=•=•=•=•=•=•=•=•=•=•=•=•=•=•=•=•=•=•=•=•

HTML: Paragraph and Styles

Hyper Text Markup Language

HTML: Paragraph: Style Attribute:

<p> element defines a paragraph:

You can change the look of the paragraph by adding a style.
<p style=”property:value;“> = new look

Example of text having a blue color

<p style=”color:green;”>

Green Text

</p>


Examples of adding a style to your paragraph element:

Example of a color property

HTML Code

Result

<p>Text default</p>

<p style=”color:red;”>Text red</p>

<p style=”color:blue;”>Text blue</p>

<p style=”font-size:36px;”>Text bigger</p>

This is an email link:
Text default

Text red

Text blue

Text bigger


Example of a font-size property

HTML Code

Result

<p style=”font-family:verdana;”>

This is a heading</p>

<p style=”font-family:courier;”>

This is a paragraph.</p>

This is a paragraph.


This is a paragraph.


Example of a text-align property

HTML Code

Result

<p style=”text-align:center;”>Centered paragraph.</p>

<p style=”text-align:left;”>Left paragraph.</p>

<p style=”text-align:right;”>Right paragraph.</p>


Centered paragraph.

Left paragraph.

Right paragraph.

HTML: Images / Pictures

This is instructions on how to get images into an HTML page.

Images improve the design, appearance, and the communication involved with a webpage.

Example: Image from Local site:
<img src=”NamRef.jpg” alt=”NamRef Logo”>

Example: Image from other website:
<img src=”http://www.gorageous.com/f_images/QR_mobile-Go-sm.png” alt=”Company QR”>

Example: Image: Size of Image
<img src=”NamRef.jpg” alt=”NamRef Logo” width=”200″ height=”200″>
or
<img src=”NamRef.jpg”alt=”NamRef Logo” style=”width:200px;height:200px;”>
NamRef Logo or NamRef Logo

Same result
Example: Image from another folder within website:
<img src=”/f_Images/img-arrow-red.png” alt=”Red Arrow” style=”width:75px;height:24px;”>
Red Arrow

Example: Image from another site (or server):
<img src=”http://troop329az.org/Logo_ScoutingCrew.png” alt=”Red Arrow” style=”width:200px;height:200px;”>

Image Size:

HTML <img> width Attribute:

<img src=”logo.gif” alt=”Logo” height=”100″ width=”100″>
ScoutCrew Logo

<img src=”logo.gif” alt=”Logo” width=”100″>
ScoutCrew Logo

<img src=”logo.gif” alt=”Logo” width=”100″ height=”50″>
ScoutCrew Logo beware distortion

HTML: Links

This is instruction on how to put links into an HTML page.

Link to a web page:
<a href=”url“>link text</a>

Example: Link to another website:
<a href=”http://www.markersinmotion.com/web/“>Visit Markers In Motion – web</a>

Example: Local Link (your website):
<a href=”index.php“>Knowledge Home Page</a>

Example: Local Link: Full Address
<a href=”http://namref.com/search_knowledge/index.php“>Visit NamRef Knowlege Cache</a>

Example: Local Link (your website): New Tab or Window
<a href=”index.php” target=”_new”>Knowledge Home Page</a>

Hosting: Dotster: Getting Support

These are instructions on how to get help on Doster by creating a ticket.

If you do not want to learn how and just want to create a ticket, here is the Shortcut:
Shortcut: https://www.dotster.com/controlpanel/supportconsole.html#tickets

• Log to https://www.dotster.com/
Dotster Login

• In Control Panel: Press the Help link
Or, Go To:
Control Panel Address: https://www.dotster.com/controlpanel/beta/
Help Link Address: https://www.dotster.com/controlpanel/supportconsole.html
Dotster Help
• On help/support page (Knowledge Base) look to the bottom of page press the “My Ticket” link and it will expand.
Or, Go To:
https://www.dotster.com/controlpanel/supportconsole.html#tickets

Dotster Help

• Create a ticket in this area.

Dotster Help

Shortcut: https://www.dotster.com/controlpanel/supportconsole.html#tickets

HTML: Email

Hyper Text Markup Language

Markup:

<a href=”mailto:someone@namref.com”> = Email Link
<form action=”#” method=”post” enctype=”text/plain”> = Email Form

Example of Link to mail

<a href=”someone@namref.com”>Email Today!</a>


Example of Link to mail with a subject

HTML Code

Result

<p>This is an email link:
<a href=”mailto:someone@namref.com?Subject=Hello%20Friend” target=”_top”>Send Mail</a>
</p>
This is an email link:
Send Mail
Note: Spaces between words should be replaced by %20 to ensure that the browser will display the text with correct spacing.

Example of a form

HTML Code

Result

<h3>Send e-mail to someone@NamRef.com:</h3>

<form action=”mailto:someone@example.com” method=”post” enctype=”text/plain”>
Name:<br>
<input type=”text” name=”name”><br>
E-mail:<br>
<input type=”text” name=”mail”><br>
Comment:<br>
<input type=”text” name=”comment” size=”50″><br><br>
<input type=”submit” value=”Send”>
<input type=”reset” value=”Reset”>
</form>

Send e-mail to someone@namref.com:

Name:

E-mail:

Comment:


HTML: Font and Color (Colour)

Hyper Text Markup Language

Markup:

<font> = Font Information
<font color=”#d88ddd”>Jerry</font> = Font color attibute
<span style=”color: #663399;”>Color</span> = Span informtion and style of font
<span style=”color: #000080; style=”font-size: large;”>color, size</span> = Color and size

Markup: size

<font size=”6″>This is some text with 6!</font> = Font size attibute
This is some text!
<font size=”-2″>This is some text with -2!</font> = Font size attibute
This is some text with -2!

HTML: Tables

Hyper Text Markup Language

Markup:

<table> = Table for information
<th> = Table Header of data (Column)
<tr> = Row within table
<td> = Data Cells within Table (Column)

Example

HTML Code

Result

<table style=”width: 100%;”>
<tbody>
<tr align=”left” valign=”top”>
<th>Firstname</th>
<th>Lastname</th>
<th>Phone</th>
</tr>
<tr>
<td>Karina</td>
<td>Bolivia</td>
<td>555.555.5551</td>
</tr>
<tr>
<td>Michael</td>
<td>Grecko</td>
<td>555.555.5552</td>
</tr>
<tr>
<td>Betsy</td>
<td>Boston</td>
<td>555.555.5553</td>
</tr>
</tbody>
</table>
&nbsp;</td>
</tr>
</tbody>
</table>
Firstname Lastname Phone
Karina Bolivia 555.555.5551
Michael Grecko 555.555.5552
Betsy Boston 555.555.5553

(beware of smart quotes)


Attributes:

<td rowspan=”2″> = Expand the row down (the column)
<td colspan=”2″> = Expand the data across the row ( of columns)

Data Cells can Span multiple rows
<th rowspan=”2″> or <td rowspan=”2″>

<table style=”width:100%”>
<tr>
<th>Name:</th>
<td>Kather</td>
</tr>
<tr>
<th rowspan=”2″>Telephone:</th>
<td>555.555.7771</td>
</tr>
<tr>
<td>555.555.7772</td>
</tr>
</table>
Name: Katherine Core
Telephone: 555.555.7771
555.555.7772

Data Cells can Span multiple columns
<th colspan=”2″> or <td colspan=”2″>

<table width=”99%” border=”1″ cellspacing=”5″ cellpadding=”5″>
<tr>
<td colspan=”2″>First and Last</td>
<td>Phone</td>
</tr>
<tr>
<td>Jerry</td>
<td>Band</td>
<td>555.666.7777</td>
</tr>
</table>
First and Last Phone
Jerry Band 555.666.7777